
TLDR: I build an eyes-free baby movement monitor that alerts via audio tones. It can use any iOS baby monitor app as input video feed.
When my son was born I bought the Nanit, a baby monitor that came highly recommended. Its video and background audio monitoring worked very well. When he was small he would cry every time he woke up. That was our cue to rush and take care of him. At around 7 months of age this behavior changed. He would wake up, sit up, move around, climb on pillows, try to get off the bed and sometimes even disconnected the camera unit from it's base, all done silently like a ninja. Needless to say background audio monitoring did not cut it anymore. So my wife and I started monitoring the Nanit video as we did household chores, when we had conversations, when we read books and yes even in the restroom. Our attention was divided. We couldn't rest and recover after putting him to bed. What we needed was a 'baby is waking up' alert that didn't hijack our senses and let us be present when we did other things.
Problem
The Nanit (and many other video monitors) offer movement alerts. But they work well only under ideal conditions. Like many other parents we don't use the Nanit camera overhead as it is designed. Our son sleeps on a floor bed. We simply point it at him from a short bedside table. Curtains moving in the wind or changing shadows cast by the sunlight can trigger these alerts. I could live with these false positives; It is the false negatives that are a deal breaker. For whatever reason these alerts are unreliable on iOS. On many occasions I've walked in on my son dancing around the mattress and received no alerts. It is unclear whether it is the Nanit camera that fails to trigger the alert or whether the message is dropped. I think it is a little of both. Either way, after fiddling with the alert sensitivity settings, I've given up. Even when the alerts deliver it is too easy to miss the message chime, which sadly can't be customized on iOS.
Prototype 1
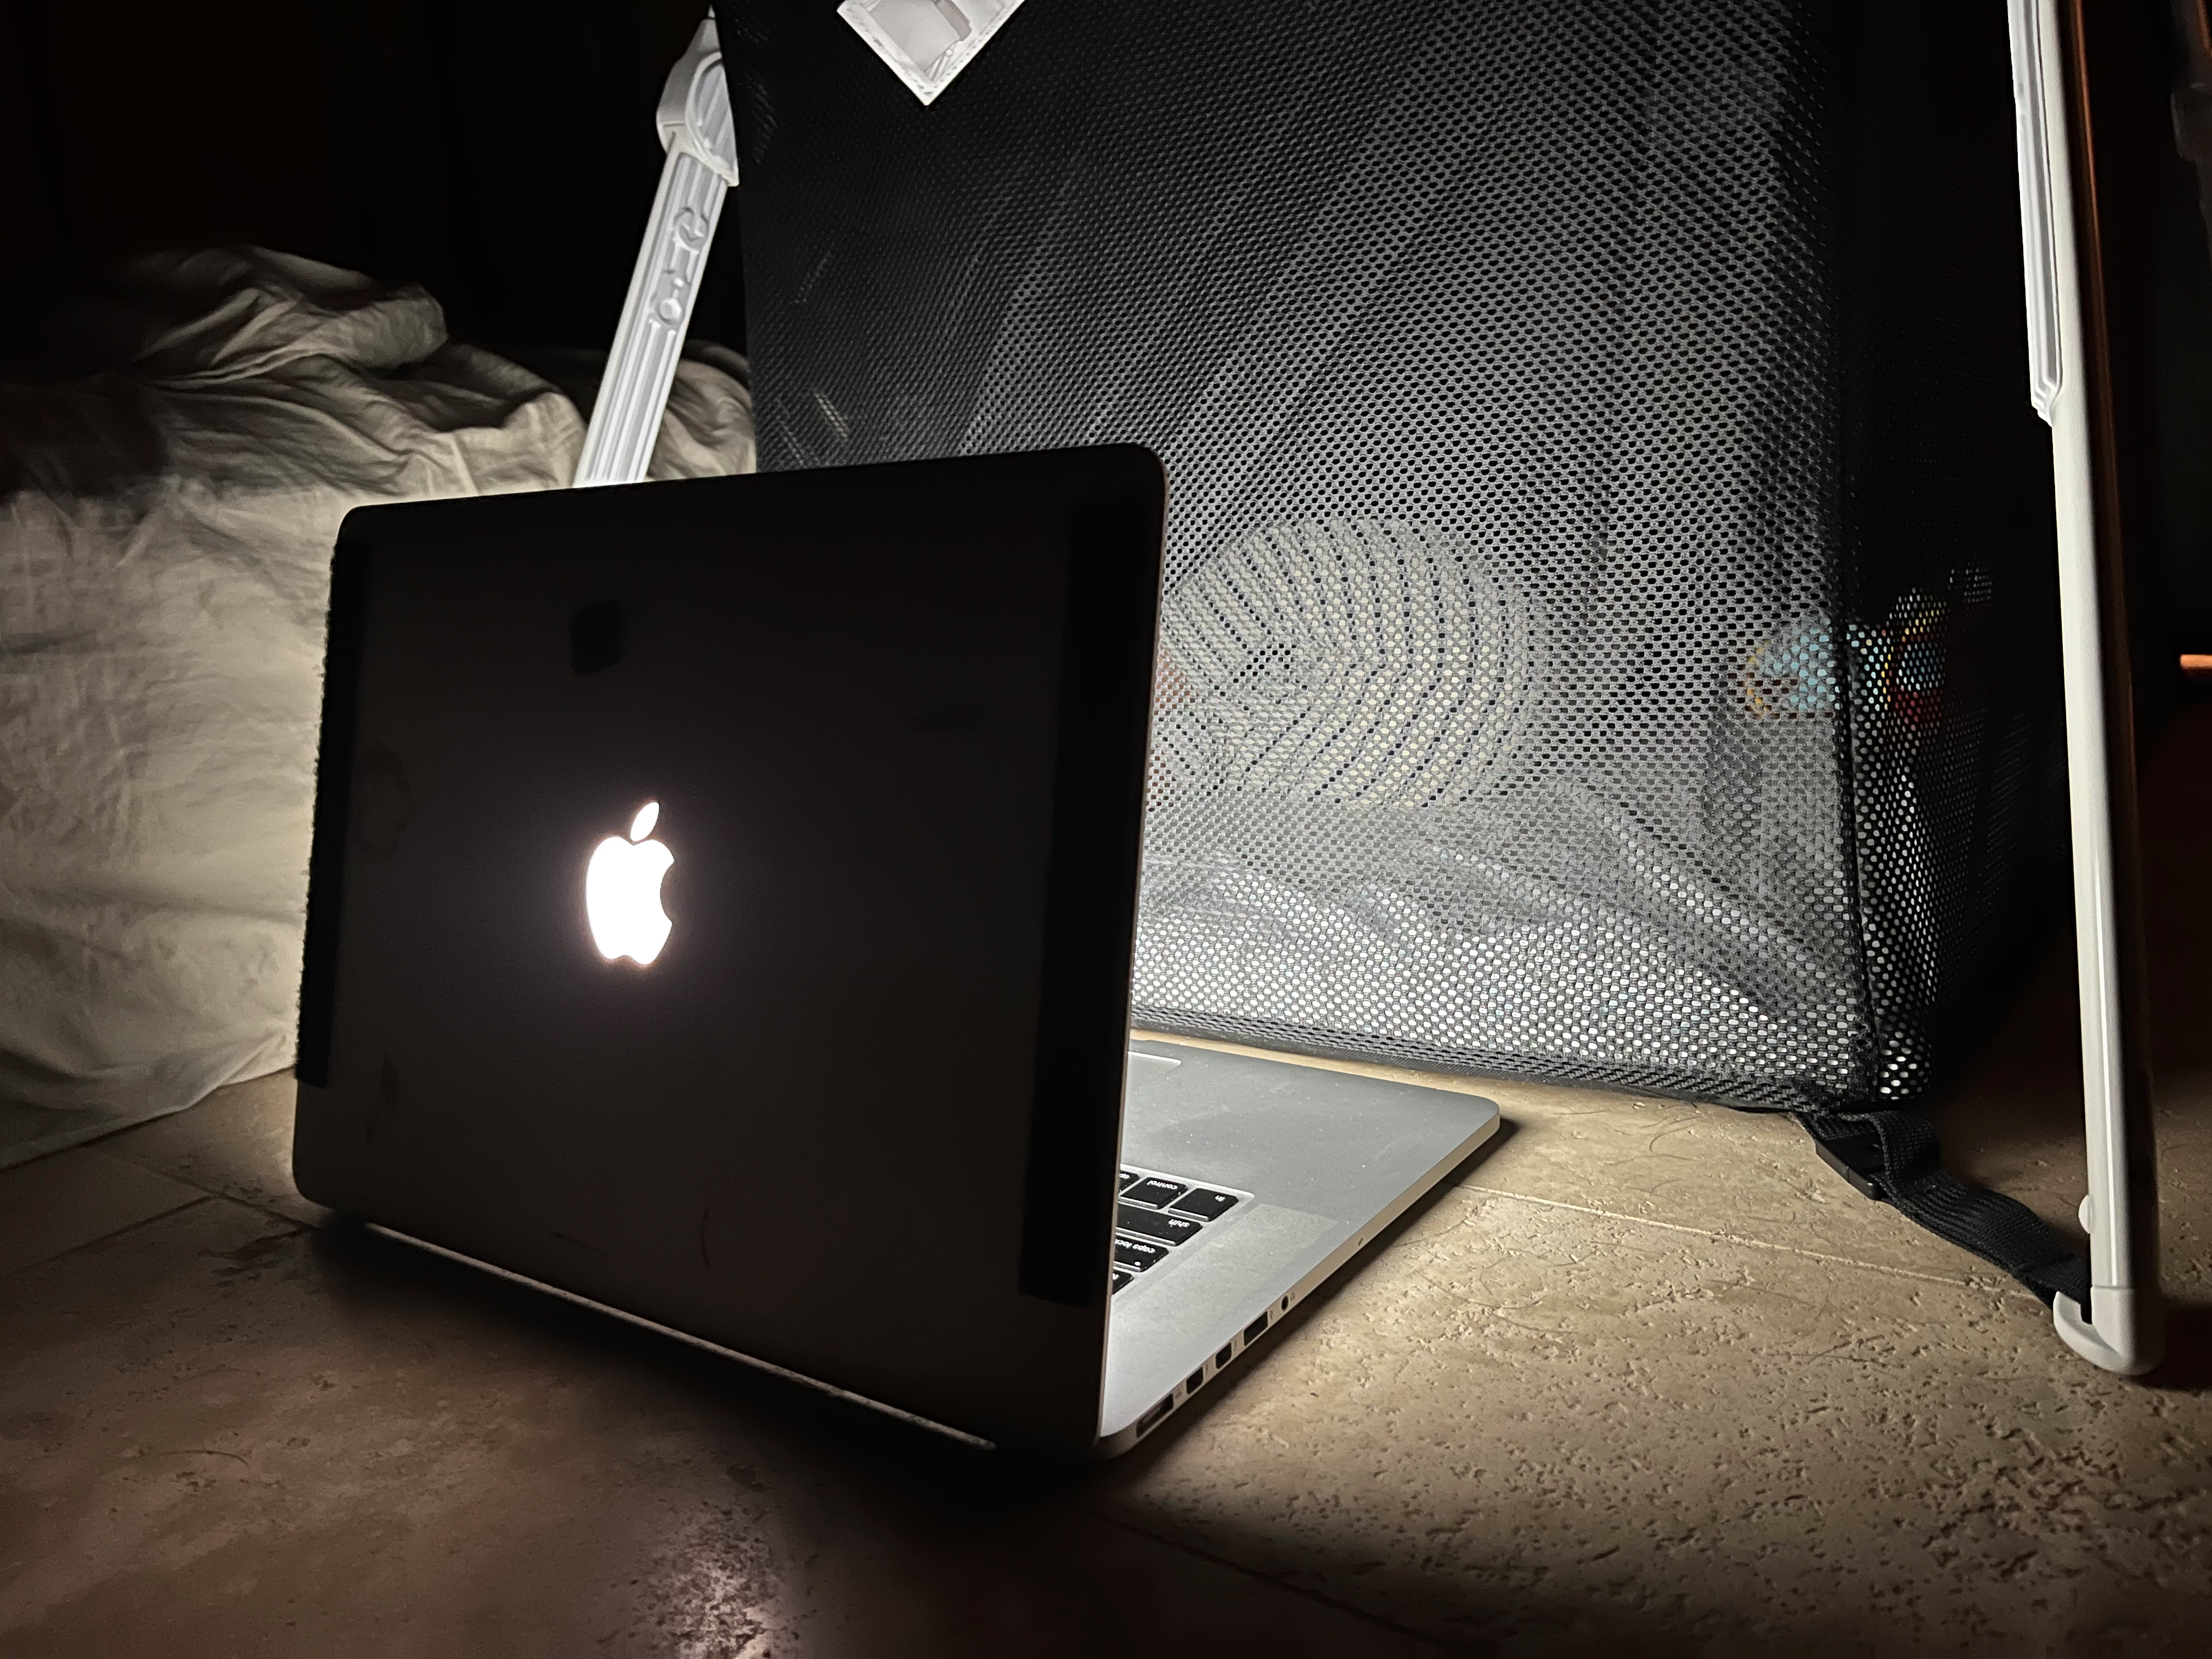
I needed a camera feed and video stream monitoring to trigger these alarms myself. I prototyped a motion monitor with my macbook's webcam. This camera needed a LOT of light to produce a decent picture with its tiny sensor. When deployed, it didn't even work in the daytime in a dimly lit room. I needed to increase the screen brightness all the way to a point that would affect his sleep quality (image below). We couldn't use this.
Prototype 2
I figured phone cameras have gotten much better. So I set up epocCam to use my unused iPhone's camera as a remote webcamera. It was better but not good enough. It worked in the daytime but not in the night for the same reason as the macbook webcam. At this point I realized that the Nanit camera is great at produce a clear image regardless of the ambient light, using it's backup infrared camera. I didn't have to reinvent the wheel. I just needed a way to plug into the Nanit's feed. I wanted to run the Nanit app on my macbook and use that as a video feed. But the app was not available in the Mac app store or Android app store on the android emulator.
Solution
I learnt that Quicktime allows you to record the iPhone screen when connected via the lightning cable. Simple. All I had to do was connect my phone to my laptop with the app running. My monitoring job samples screenshots of the Quicktime app, detects movements and triggers alerts. Easy peasy. This worked. In fact this worked so well, that we've even been able to enjoy movies without worry. We get alerts on his movements right as they happen with the same source of truth (the Nanit video stream) we've come to trust. The alerts are sounded in a tone that encodes the intensity of the movement. This further helps us understand if he is simply turning or is up and around. When these alerts sound we turn to look at the laptop screen to see the video stream which is far more convenient than looking at the phone.
Code
#!/usr/bin/python3

import collections
import ffmpeg
import numpy as np
from scipy import spatial
import matplotlib.pyplot as plt
import pygame, numpy, pygame.sndarray
import cv2
from datetime import datetime
import humanize
import os
import time

# Sound signals are based on the most recent video frames from the last N seconds (heartbeat length)
queue_size = 5  # At 2.5fps this queue will contain frames over past 2 seconds.
frame_queue = collections.deque(maxlen=queue_size)
dist_thresh = 0.1
dist_ceil = 0.8


def distance_between_frames(old_frame, new_frame):
    return spatial.distance.cosine(old_frame, new_frame)


# Source: https://gist.github.com/nekozing/5774628
def play_sin_tone(freq_hz=440, time_ms=1000, peak=4096):
    sampleRate = 44100
    # 44.1kHz, 16-bit signed, mono
    pygame.mixer.pre_init(sampleRate, -16, 1)
    pygame.init()
    # ?not so sure? if astype int16 not specified sound will get very noisy, because we have defined it as 16 bit mixer at mixer.pre_init()
    # ( probably due to int overflow resulting in non continuous sound data)
    arr = numpy.array(
        [
            peak * numpy.sin(2.0 * numpy.pi * freq_hz * x / sampleRate)
            for x in range(0, sampleRate)
        ]
    ).astype(numpy.int16)
    sound = pygame.sndarray.make_sound(arr)
    # ?not so sure? -1 means loop unlimited times
    sound.play(-1)
    pygame.time.delay(time_ms)
    sound.stop()


def sound_alert(dist):
    if dist < dist_thresh:
        freq_hz = 2  # basically silence. is inaudible. playing something to make sure bluetooth devices don't disconnect.
    else:
        freq_hz = min(
            4000, 200 + (dist - dist_thresh) * 4000 / (dist_ceil - dist_thresh)
        )
    play_sin_tone(freq_hz)
		print(f"dist={dist} freq_hz={freq_hz}")


def quantize_frame(frame):
    return (frame // 10) * 10


def get_next_frame():
    # Screencapture the Quicktime window (assumes it is the first one). The app does not have to be in the foreground.
    os.system(
        """screencapture -x -l$(osascript -e 'tell app "Quicktime Player" to id of window 1') screenshot.png"""
    )
    return cv2.imread("screenshot.png")


img_counter = 0
last_moved_time, last_moved_dist = None, None

while True:
    # Low frame rate is good. A very high frame rate can cause false negatives.
    # Also sleeping between frames lowers CPU utilization.
    start_time = time.time()
    frame = get_next_frame()
    frame_capture_timedelta = time.time() - start_time
    time.sleep(max(0, 0.4 - frame_capture_timedelta))

    # Convert to grayscale. Color is not very useful.
    frame = cv2.cvtColor(frame, cv2.COLOR_BGR2GRAY)
    # Downscale and quantize to reduce noise.
    downscaled_width, downscaled_height = 200, int(
        frame.shape[0] * 300 / frame.shape[0]
    )
    frame = cv2.resize(
        frame,
        dsize=(downscaled_width, downscaled_height),
        interpolation=cv2.INTER_CUBIC,
    )
    frame = quantize_frame(frame)

    # Flatten frame for vector computation later on.
    frame = frame.flatten()
    frame_queue.append(frame)
    img_counter += 1
    if len(frame_queue) < queue_size:
        continue

    # Calculate vector distance between farthest frames in the queue.
    # The higher the distance the more the movement.
    dist = distance_between_frames(frame_queue[0], frame_queue[-1])
    # Generate an alert sound (if necessary) based on the distance measure.
    sound_alert(dist)

    # For debugging
    cv2.imwrite("screenshot_mod.jpg", frame)
    if last_moved_time:
        timedelta = datetime.now() - last_moved_time
        msg = f"Moved {humanize.naturaltime(timedelta)} ({round(last_moved_dist,2)})"
        print(msg)

    if dist > dist_thresh:
        last_moved_time = datetime.now()
        last_moved_dist = dist
How this works
Screenshots of the Quicktime app are grabbed every 0.4s. These are placed in a queue and the first and last frame that are 2s apart are compared for changes every-time a new frame is queued. The images are processed (color channel conversion, resizing, quantizing, flattening) and cosine distance between frames is calculated as a proxy for movement. The more the movement the higher the pitch of the alert tone. Low distance values do not trigger an alert.
The key trick here is the rescaling and quantization. If you zoom into any camera's video feed in low light you can see noise - basically the camera hallucinating pixel values due to weak signal (lack of photons). Noisy images of the same scene will always be far away in vector space. To bring them closer we quantize the values to so they fall into fewer buckets. Here I map 255 different values a grayscale pixel can have down to 25. The downscaling of the video feed also ignores small noisy changes to the image like a piece of cloth flapping in the wind, that are unrelated to the child's movement.
Running the monitor
I try to use magic numbers sparingly. If you run my script it should work reasonably well for you. Here's how:
- Open your favorite iOS baby monitor app on your iPhone.
- Zoom into the video feed to show your baby's sleep area.
- Open Quicktime and select File → New Video Recording. Select the iPhone as input.
- Install dependencies and run the python script. Check the distance measures logged to stdout.
Reach out if you need help with the set up.
I'm surprised something like this doesn't exist already. Making sure your child is safe is a top concern for every parent. Parenting is hard, labor intensive and it feels like there is no place for repetitive task automation. But this is one of those rare solutions that has brought me peace and calm. Hope this helps other exhausted anxious parents out there. ✌️!
Sesh